Renovating a bathroom from scratch is a significant home improvement project. Whether you’re updating an outdated space or completely gutting a bathroom to start fresh, proper planning and execution are essential to avoid costly mistakes. In this guide, we’ll walk you through a complete bathroom renovation — from preparation and planning to waterproofing, plumbing, electricity, tile work, and finishing touches.
1. Planning Before You Begin Any Work
Before tearing down tiles or removing fixtures, the first and most crucial step is careful planning. A well-thought-out renovation starts with measuring your space and understanding where each element will go. This will dictate everything — from plumbing and electrical points to waterproofing and tile layout.
- Measure the space precisely (length, width, and ceiling height).
- Draw a layout sketch showing:
- Shower or bathtub
- Toilet
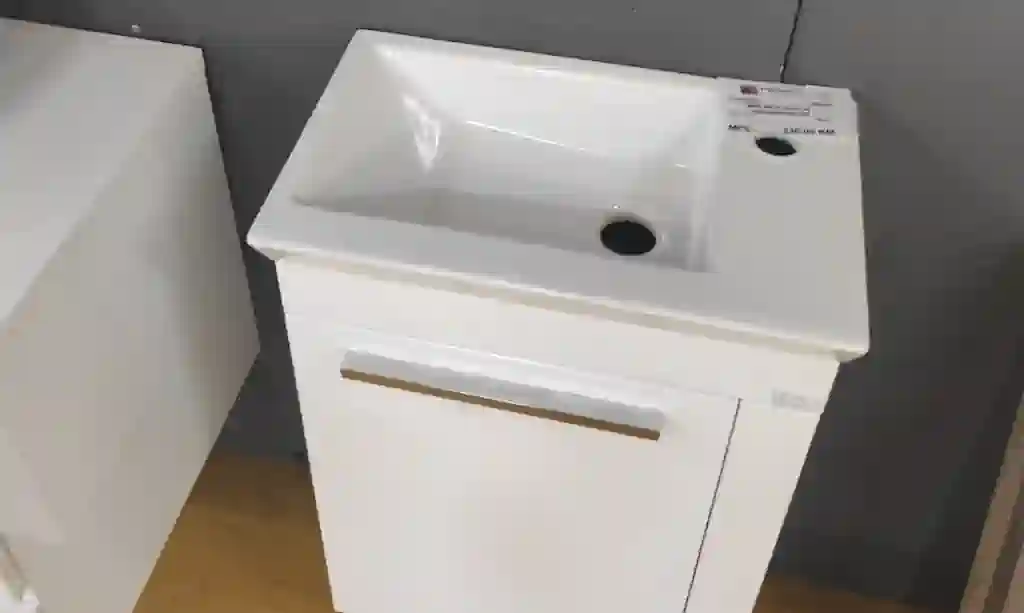
- Sink/vanity
- Water heater (if inside the bathroom)
- Washing machine (if applicable)
- Plan your utilities:
- Water supply and drainage points
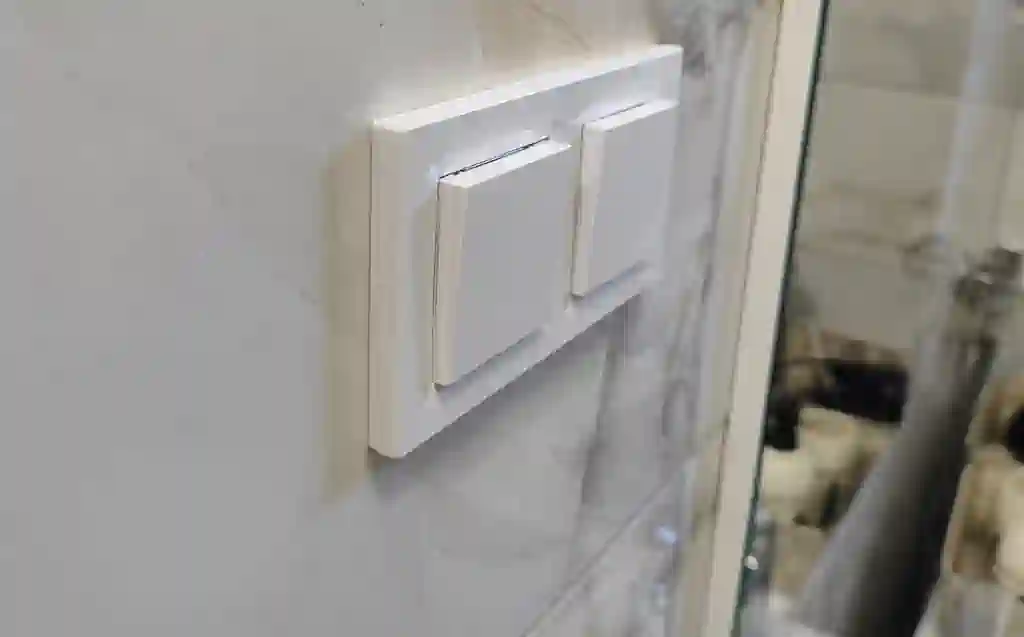
- Electrical sockets and switches
- Ventilation system
- Lighting (ceiling and mirror lights)
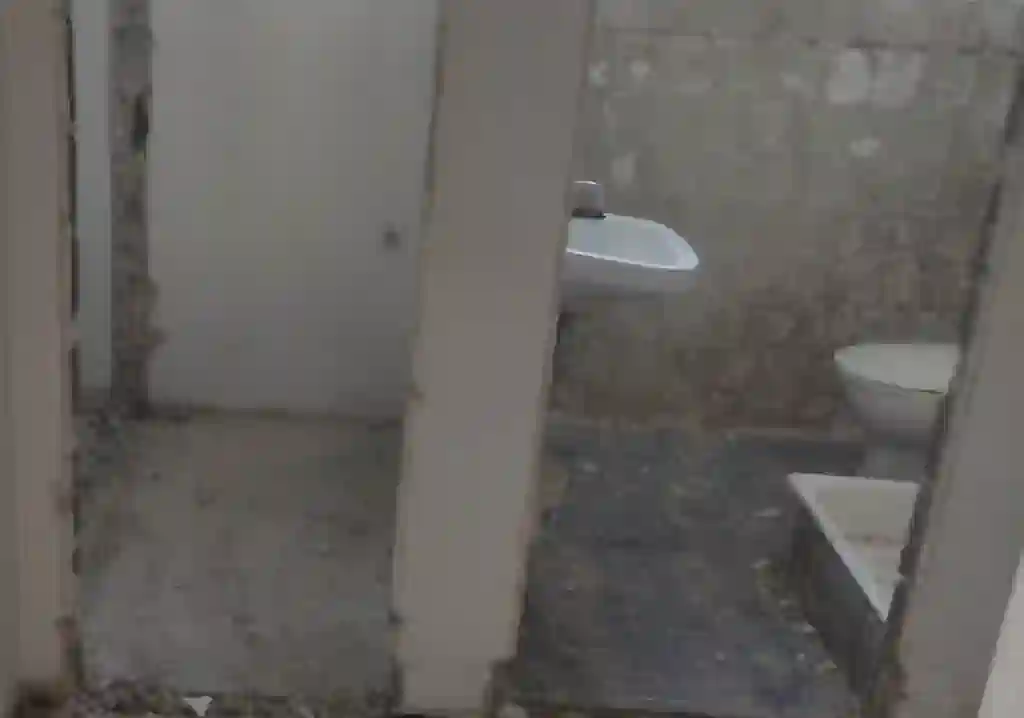
2. Demolition and Surface Preparation
Once you have a plan, it’s time to strip down the old bathroom. This includes removing:
- Old tiles (walls and floors)
- Plumbing fixtures
- Outdated pipes and valves
- Electrical installations
- Old waterproof layers (if any)
Tips during demolition:
- Shut off water and electricity before starting.
- Wear protective gear (gloves, mask, goggles).
- Dispose of debris according to local regulations.
3. Installing New Plumbing Lines
After the space is cleared, start with new plumbing installations. This includes replacing old water pipes and drainage systems. Use modern materials like PEX or multilayer pipes.
Drainage setup:
- Use larger-diameter pipes (at least Ø110 mm) for the toilet.
- Smaller-diameter pipes (Ø40–50 mm) for sinks, showers, and washing machines.
- Ensure correct slope for drainage to avoid clogging.
Water supply setup:
- Replace all old valves.
- Install new hot and cold water lines to match the planned layout.
- Double-check outlet positioning for sinks, mixers, and other fixtures.
Tip: Take photos of the new pipe layout before closing walls.
4. Preparing the Electrical System
Now it’s time to route new electrical wiring. Plan carefully based on the layout and number of appliances you’ll use.
- Use moisture-resistant electrical boxes and IP-rated outlets.
- Install a GFCI outlet near the sink for safety.
- Place modular switches at the entrance (with LED or dimmers if desired).
- Plan wiring for lighting, mirror heaters, and fans.
Important: Do not connect the electricity at this stage. A certified electrician should test and connect after the work is complete.
5. Preparing Walls and Floor Surfaces
With plumbing and electrical complete, focus turns to surface preparation.
- Cover pipes and wires with mortar or screed.
- Level the wall surface and repair any holes.
- Apply cement board or plaster depending on tile type.
- Level the floor and install drain slopes correctly.
Let surfaces dry naturally according to the material instructions. Rushing the process can cause cracking.
6. Applying Waterproofing (Hydro Insulation)
Waterproofing is critical. Poor waterproofing causes long-term damage and leaks.
- Apply on floors and shower walls (at least 1.8m height).
- Use quality products — liquid membrane, sheet membrane, or cement-based systems.
- Seal all joints and pipe openings.
- Apply 2–3 coats, respecting drying time between each.
7. Laying Tiles (Ceramic, Porcelain, or Stone)
Now comes the visible transformation of the space.
- Start with wall tiles first, then floor tiles.
- Use a tile leveling system for a smooth finish.
- Cut tiles carefully around outlets and pipes.
- Use anti-slip tiles on the floor.
- Always buy 10–15% more tiles for future use or mistakes.
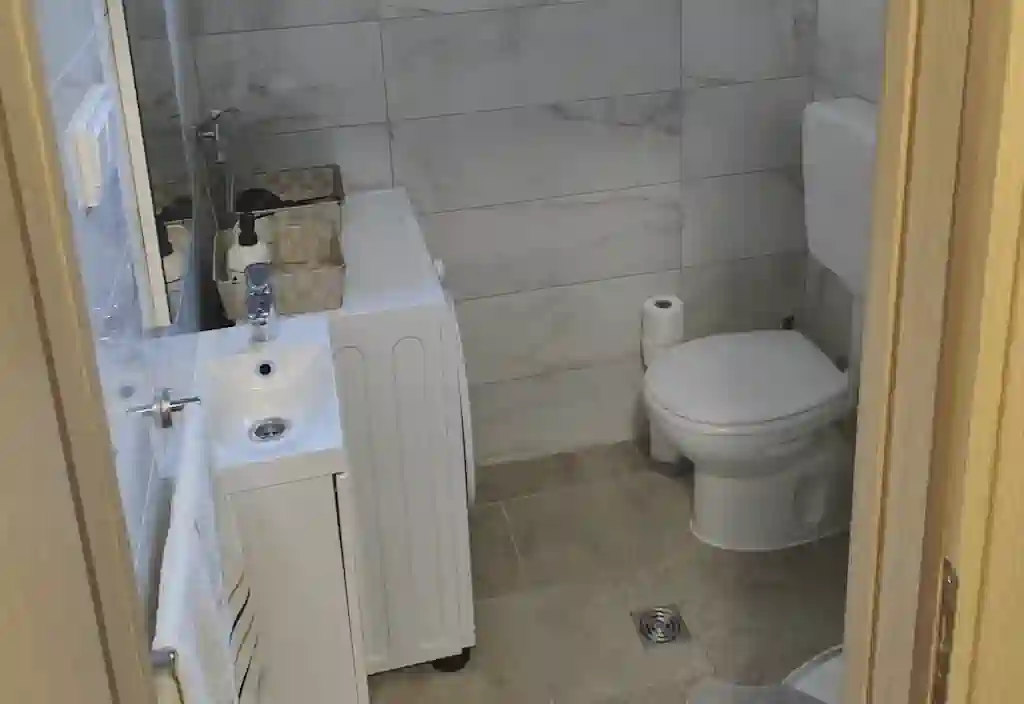
8. Final Installation and Finishing Touches
Once tiles are in place and grouting is done:
- Install fixtures: toilet, sink, shower, and vanity.
- Mount accessories: towel bars, shelves, mirrors, etc.
- Connect lights and outlets (by a professional).
- Seal wet zones with bathroom-grade silicone.
- Test all plumbing and electrical elements.
Conclusion: Patience and Precision Bring Lasting Results
Renovating a bathroom is a multi-step process that involves plumbing, electrical work, waterproofing, and aesthetics. If each phase is handled with care, the result will be a stylish and long-lasting bathroom.
Take your time, invest in quality materials, and don’t hesitate to get professional help where needed. A well-renovated bathroom improves not only the comfort of your home but also its overall value.