Renovating a kitchen is one of the most rewarding home improvement projects, but it also requires careful planning and thoughtful execution. A well-renovated kitchen should serve you for years without the need for constant repairs or updates. Similar to bathroom renovation, success lies largely in preparation and planning.
Before swinging a hammer or ripping out old tiles, take a step back and define exactly what you need and want from your new kitchen. Let’s walk through the process step by step, covering everything from planning and demolition to plumbing, wiring, and appliance installation.
What Exactly Should You Plan?
- What don’t you like in your current kitchen?
- What’s missing that you need?
- Measure your space — walls, ceilings, windows, and doors.
Draw your ideas on paper or use 3D design software. Once everything is aligned — layout, appliances, storage, and utilities — you’re ready to move forward.
Choosing the Kitchen and Its Elements
The style and size of your new kitchen determine how the rest of the renovation unfolds. Visit showrooms, consult designers, and get 3D drawings. Your choices will guide how plumbing, electricity, and wall finishes are handled. Don’t forget to work from precise measurements.
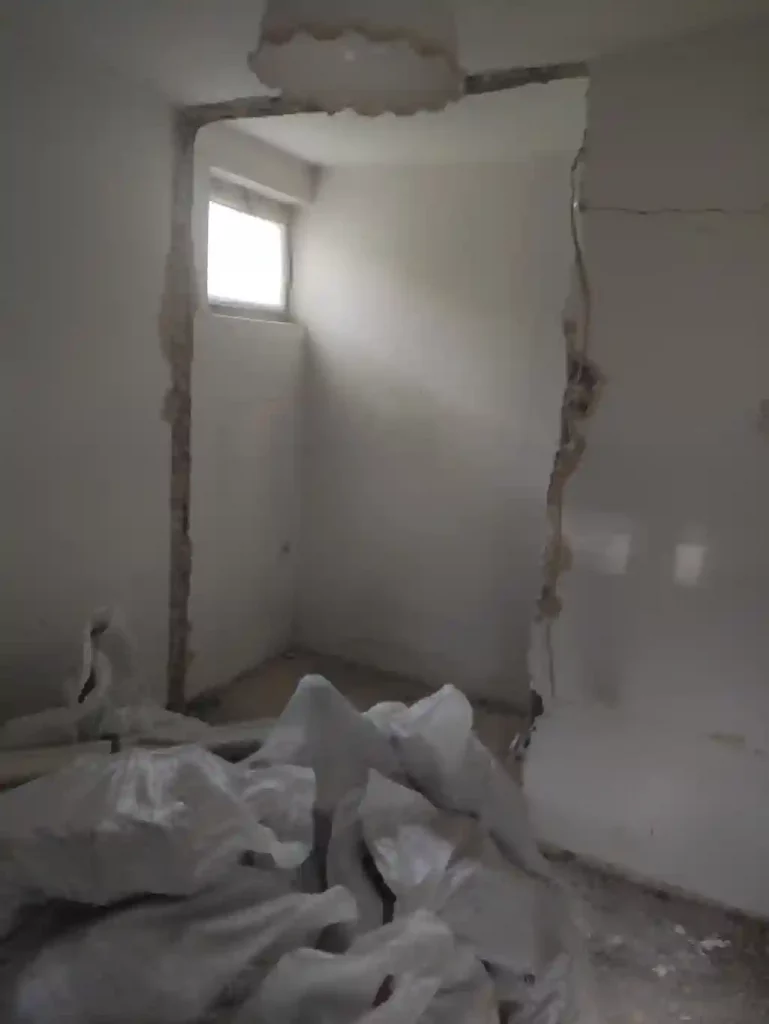
Demolition and Preparing the Space
Remove all existing elements: cabinets, countertops, tiles, and old appliances. Strip walls down to a clean surface. Ensure water and electricity are off. Protect other rooms from dust and debris.
Plumbing: Installing New Water Lines
Based on your plan, run new water pipes and drainage:
- Install lines for the sink, dishwasher, and fridge if needed.
- Use quality materials like PEX or copper piping.
- Install shut-off valves for maintenance.
Electrical Wiring: Power Where You Need It
Plan and install electrical points before closing walls:
- Dedicated circuits for oven, stove, fridge, microwave, etc.
- Use GFCI outlets near sinks and wet zones.
- Install enough sockets, switches, and under-cabinet lights.
Optional: Add smart home features like motion sensors or remote-controlled lights.
Preparing the Walls
After utilities are installed:
- Plaster or repair wall surfaces.
- Ensure everything is level and dry.
- Apply waterproofing if needed in wet zones.
Wall and Floor Coverings: Tiles or Panels?
Choose between these options:
- Ceramic or Porcelain Tiles: Durable, heat-resistant, easy to clean.
- Glass Backsplash: Modern, colorful, and easy to maintain.
- Wall Panels/Laminates: Quick to install, budget-friendly, decorative.
Pick what suits your style and maintenance preferences.
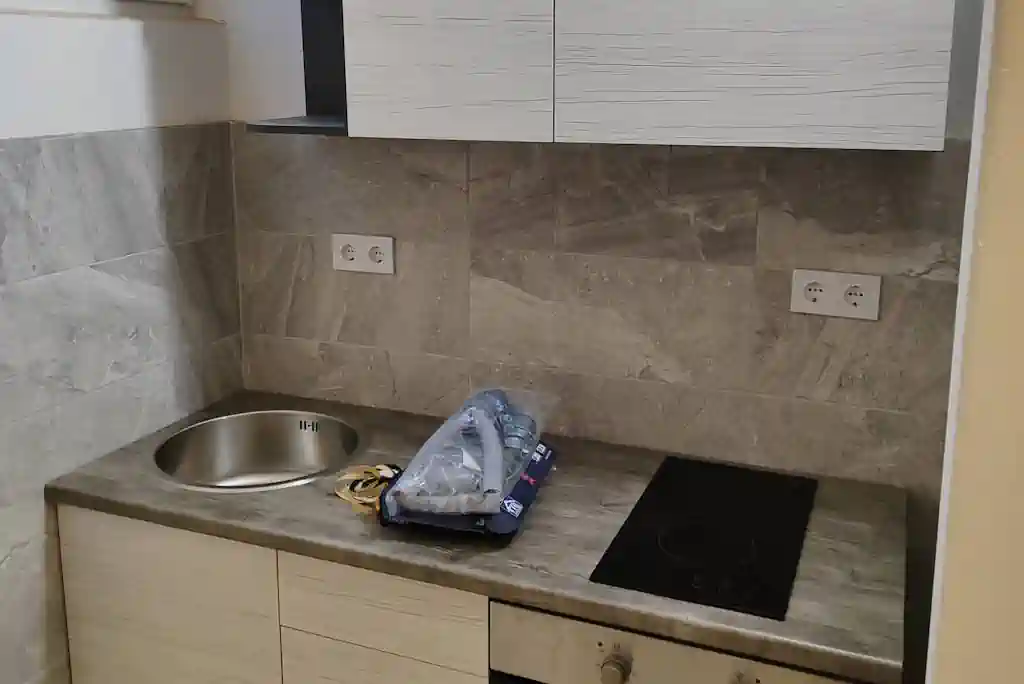
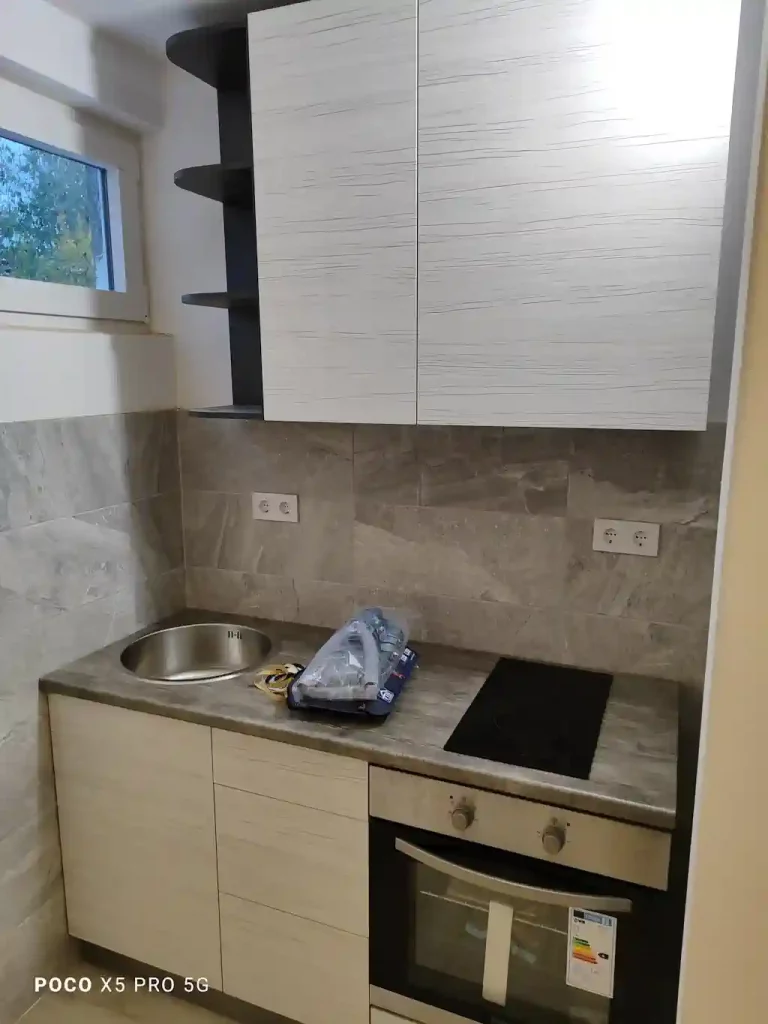
Installing Kitchen Cabinets and Appliances
With the walls and floors ready:
- Assemble modular cabinets on-site.
- Install base units first, then countertops, then upper units.
- Use brackets and levels for alignment and stability.
- Fit in built-in appliances: oven, stove, dishwasher, sink, microwave, etc.
Final Touches
Don’t forget to:
- Attach handles and internal accessories.
- Install under-cabinet LED lighting.
- Seal joints with silicone.
- Clean the area thoroughly and test all installations.
Conclusion
Kitchen renovation may seem overwhelming, but proper planning makes all the difference. Focus on the design, materials, and skilled workmanship. A well-built kitchen enhances not only the look but the functionality of your home.
Invest your time wisely and enjoy the result — a beautiful and practical space that will serve you well for years to come.