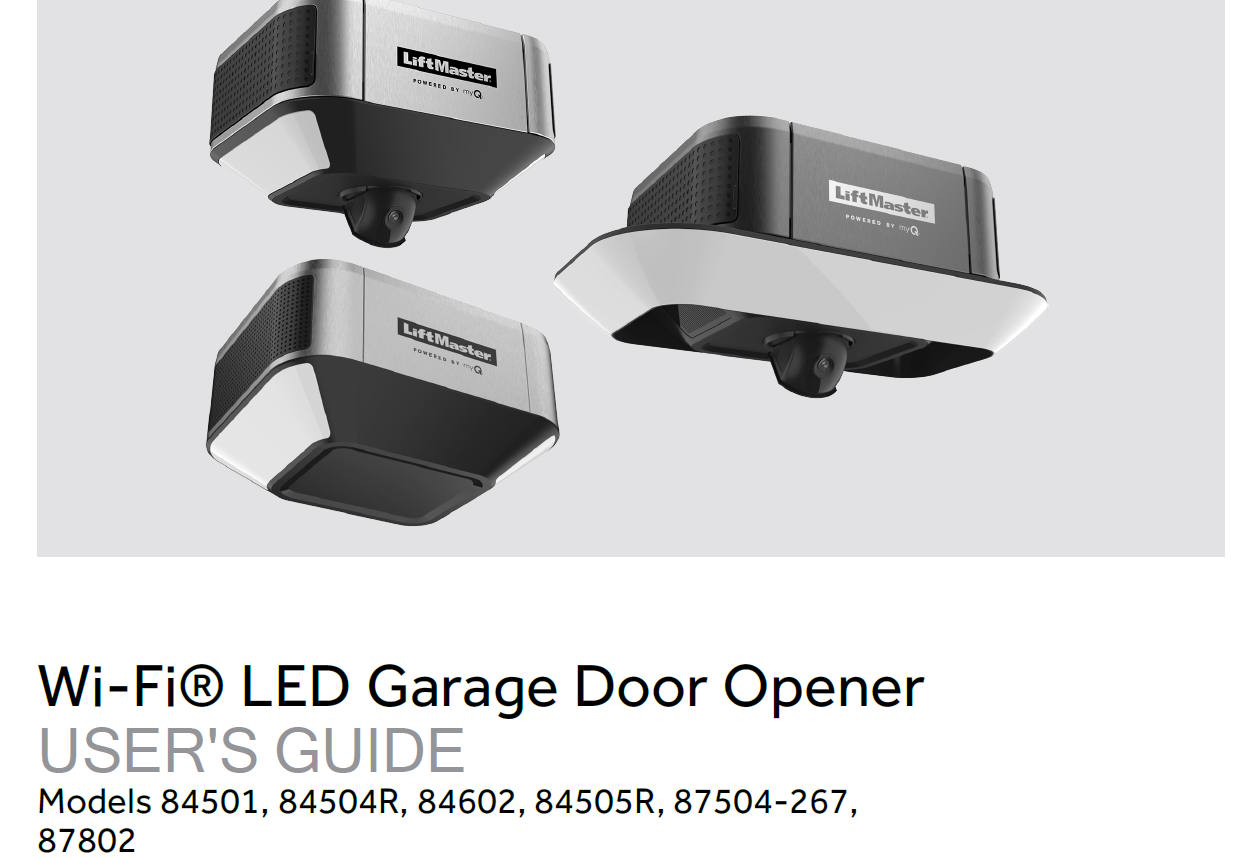
The LiftMaster 84501 Garage Door Opener is a high-quality, feature-rich option ideal for homeowners seeking a reliable, quiet, and smart-enabled solution. Powered by a quiet DC belt drive motor, it is designed for smooth operation and minimal noise—perfect for homes with attached garages.
Equipped with LiftMaster’s myQ Smart Technology, it allows you to control, monitor, and secure your garage from your smartphone. This opener is known for its durability, energy efficiency, and advanced security features, making it a popular choice.
Here’s a straightforward guide for a DIY installation of the LiftMaster 84501. While it’s user-friendly, make sure you have the necessary tools on hand and set aside a couple of hours to complete the installation.
What You’ll Need
- Step ladder
- Electric drill and various bits
- Wrenches and screwdrivers
- Tape measure
- Pencil
- Safety glasses
DIY Installation Steps for the LiftMaster 84501

Step 1: Prepare Your Workspace and Gather Materials
Clear your garage space for a safe and easy installation. Lay out all the components from the LiftMaster 84501 box, including the rail, motor unit, mounting brackets, and remote controls. Ensure the ceiling where the opener will be mounted is stable and ready for installation.
Step 2: Assemble the Rail and Attach to the Motor Unit
- Assemble the Rail: Connect the rail pieces as instructed in the manual. Secure the rail to prevent any shifting.
- Attach the Belt: Thread the belt through the rail and attach it to the trolley. The trolley is what will pull the door open and close.
- Connect the Motor Unit: Attach the assembled rail to the motor unit securely, making sure it’s locked into place.
Step 3: Mount the Rail and Motor on the Ceiling
- Position the Rail: Place the rail in line with the center of your garage door. Mark the spot on the ceiling where you’ll attach the motor bracket.
- Install the Motor Mounting Bracket: Securely fasten the mounting bracket to the ceiling. Use a stud finder to ensure you are drilling into solid wood or use appropriate anchors.
- Secure the Motor: With the help of a friend (or a prop if doing it solo), lift the motor unit and attach it to the mounting bracket. Make sure it’s level with the ceiling to ensure smooth operation.
Step 4: Connect the Garage Door to the Trolley
- Attach the Door Bracket: Locate the center of the garage door and attach the door bracket. It should be positioned securely to support the door’s movement.
- Connect the Trolley: Use the provided arm to link the trolley with the garage door bracket. This connection is essential as it allows the opener to pull and push the door.
Step 5: Install the Safety Sensors
The LiftMaster 84501 comes with safety sensors to prevent the door from closing on objects or people. These sensors should be installed on each side of the door, near the ground.
- Mount the Sensors: Place one sensor on each side of the garage door, about 6 inches above the floor. They should face each other to create an invisible beam.
- Wire the Sensors: Run the wires from the sensors to the opener motor, keeping them secure and out of the way. Follow the manual’s instructions for connecting the wiring.
Step 6: Install the Wall Control Panel and Connect Wiring
- Position the Control Panel: Mount the wall control panel at a height convenient for access, usually near the garage entrance door.
- Wire the Control Panel: Run the wires from the wall panel to the motor unit. LiftMaster includes easy-to-follow instructions for attaching these wires.
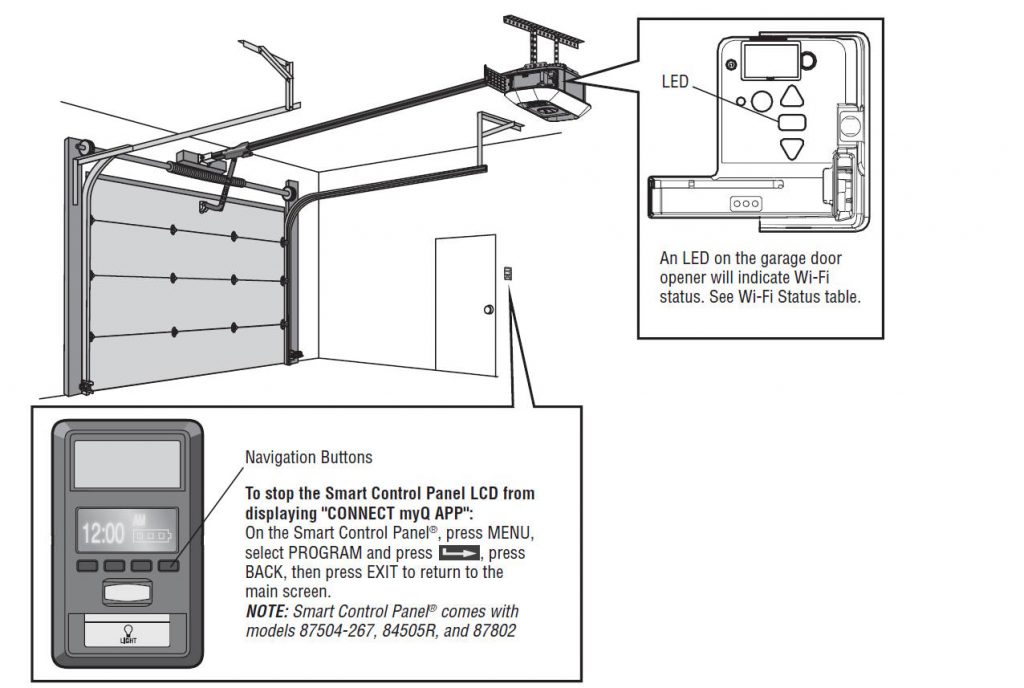
Step 7: Set Up the myQ Smart Technology
- Download the myQ App: Once the opener is installed, download the myQ app on your smartphone.
- Connect to Wi-Fi: Follow the in-app instructions to connect the LiftMaster 84501 to your home’s Wi-Fi network. Once set up, you’ll be able to control the opener from your smartphone, set schedules, and monitor the garage door status remotely.
Step 8: Test and Adjust the Opener
- Test the Door Movement: Activate the door using the wall control or remote. Watch the door’s movement and listen for any unusual sounds that might indicate an issue with the belt or alignment.
- Adjust the Travel Limits: Set the travel limits so that the door opens and closes fully without straining or stopping early. Adjust the force settings according to the weight and size of your garage door.
- Final Safety Check: Test the safety sensors by attempting to close the door with an object in the path of the sensors. The door should automatically reverse if the sensors are working correctly.
Step 9: Secure the Remote Controls
Mount the remote controls in a convenient location or keep them in your vehicle for easy access. With the myQ app setup, you’ll also have an extra level of security and convenience.
Key Features of the LiftMaster 84501
- Quiet Belt Drive: Perfect for attached garages, minimizing noise and vibration.
- myQ Smart Technology: Allows remote control and monitoring from your smartphone.
- Battery Backup: Ensures functionality during power outages.
- Automatic Timer Close: Lets you schedule the door to close after a specific time.
- Secure Safety Sensors: Prevents accidents by stopping the door if something is in the path.
Conclusion
The LiftMaster 84501 is an excellent garage door opener for anyone looking to add a smart, efficient, and quiet solution to their garage. By following these straightforward installation steps, you can safely and easily install this opener yourself, saving on professional installation fees and enhancing your home’s security and convenience. Enjoy the ease of use and peace of mind that the LiftMaster 84501 brings to your garage!
