Title: Ultimate Guide: Step-by-Step Instructions to Remove your Shower Head
Introduction:
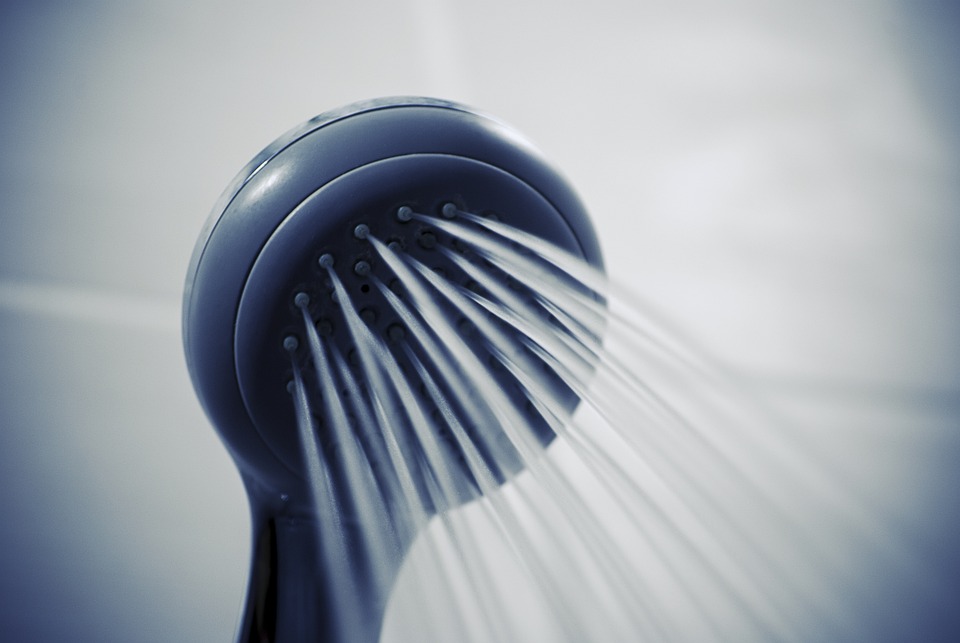
A shower head is an essential part of any bathroom, providing a refreshing and invigorating experience. However, there may come a time when you need to replace or clean your shower head. In this comprehensive guide, we will provide you with a step-by-step tutorial on how to remove your shower head effectively, ensuring a hassle-free process. So, let’s dive in!
Heading 1: Tools and Materials Required
Before we begin, make sure you have the following tools and materials at hand:
1. Adjustable wrench or pliers
2. Teflon tape
3. Cleaning solution (if needed)
4. Old towel or cloth
Heading 2: Preparation
Ensure you have turned off the water supply to your shower before starting the removal process. This can usually be accomplished by shutting off the water valve located near your shower or turning off the main water supply to your house.
Heading 3: Remove the Shower Head
Follow these step-by-step instructions to remove your shower head:
Step 1: Inspect the Existing Shower Head
Examine your shower head and note whether it is attached directly to the shower arm or if there is a coupling between the two. This will help determine the type of removal method required.
Step 2: Loosen the Shower Head
If your shower head is directly attached, grip it firmly and rotate it counterclockwise with your hand. In case it is tightly fixed, use an adjustable wrench or pliers to provide extra leverage. Be cautious to prevent damaging the shower arm or any other components.
Step 3: Remove the Shower Head
Once loosened, continue turning the shower head counterclockwise until it comes off entirely. Take care to catch any excess water trapped in the head using an old towel or cloth to avoid a mess.
Heading 4: Cleaning and Maintenance
While you have the shower head removed, it is an ideal time to clean and maintain it. Use the following steps as a guide:
Step 1: Inspect for Mineral Build-Up
If your shower head has mineral deposits or limescale, soak it in a cleaning solution suitable for your specific shower head material. Alternatively, you can create a homemade cleaning solution using vinegar and water.
Step 2: Scrub and Rinse
Using a soft cloth or toothbrush, gently scrub the shower head, paying attention to any clogged nozzles. Rinse the shower head thoroughly under running water to remove any residue.
Step 3: Apply Teflon Tape
To ensure a tight and leak-free installation, wrap the threads of the shower arm with Teflon tape, following the directional arrow. This will create a seal and prevent water leakage.
Heading 5: Installation Tips
Once you have completed the cleaning process, it’s time to reinstall the shower head. Follow these tips for a successful installation:
Tip 1: Hand-tighten the Shower Head
When attaching the shower head, hand-tighten it first to ensure a proper fit. Once it is secure, use pliers or an adjustable wrench to give it a final gentle turn. Avoid overtightening, as it may cause damage.
Tip 2: Test for Leaks
After connecting the shower head, turn the water supply back on and check for any leaks around the connections. If you notice any leaks, tighten the connection slightly or add more Teflon tape.
Conclusion:
Removing and replacing your shower head may seem like a daunting task, but with our step-by-step instructions, you can navigate through the process effortlessly. Remember to clean and maintain your shower head regularly to ensure optimal performance and prolong its lifespan. So, go ahead and tackle that shower head removal project with confidence!