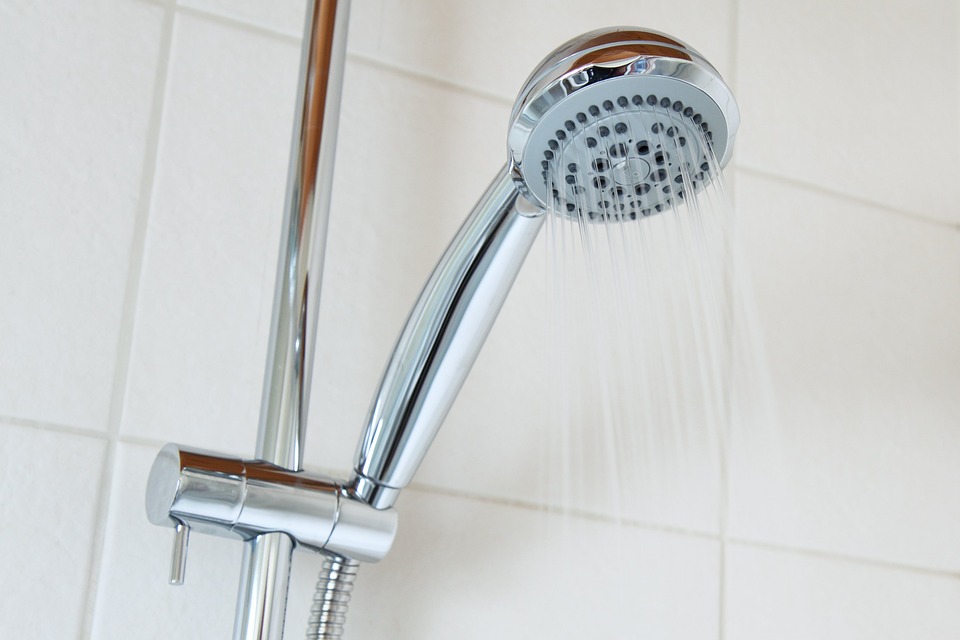
Introduction
Showerheads are an essential part of our daily routine, providing refreshing showers to start our day. However, over time they can become dirty and grimey, diminishing both their appearance and functionality. Fortunately, there are several easy cleaning tips and tricks you can follow to restore your shower head’s shine and efficiency. In this article, we will provide you with a step-by-step guide on how to clean your shower head effectively.
Gather Your Supplies
Before you embark on cleaning your shower head, it’s important to gather all the necessary supplies:
- Mild dish soap
- White vinegar
- Baking soda
- A toothbrush with soft bristles
- A plastic bag
- A wrench (if necessary)
Step 1: Prepare the Cleaning Solution
In a small bowl, mix equal parts of white vinegar and warm water. This solution is effective in removing mineral deposits and grime accumulated on the shower head.
Step 2: Remove the Shower Head
If your shower head is detachable, remove it by twisting it counterclockwise. In some cases, you may need to use a wrench to loosen the connection. Be careful not to damage the shower arm.
Step 3: Soak the Shower Head
Place the detached shower head in a plastic bag. Pour the vinegar and water solution into the bag, ensuring the entire shower head is submerged. Secure the bag, making sure there are no leaks, and let it soak for at least 30 minutes. This will help break down any mineral deposits or grime.
Step 4: Scrub the Shower Head
After soaking, remove the shower head from the bag and use a soft-bristled toothbrush to gently scrub away any remaining deposits. Pay close attention to the nozzles, ensuring they are clear and free from blockages. Rinse the shower head thoroughly with warm water.
Step 5: Clean with Baking Soda
If your shower head still has stubborn stains or discoloration, create a paste by mixing baking soda with a small amount of water. Apply the paste to the affected areas, gently scrubbing with the toothbrush. Baking soda is a gentle abrasive that can help lift tough stains.
Step 6: Reattach the Shower Head
Once you are satisfied with the cleanliness of the shower head, reattach it to the shower arm. Make sure it is securely tightened, but be cautious not to overtighten, as this can cause damage.
Step 7: Finish with a Rinse
Turn on the shower and allow warm water to run through the shower head for a few minutes. This will flush out any remaining debris or cleaning solution. Ensure all nozzles are clear and functioning properly. Now, your shower head should be clean and grime-free!
Maintaining a Clean Shower Head
To prevent future grime buildup, it is important to incorporate regular cleaning into your maintenance routine. Consider following these additional tips:
- Wipe the shower head dry after each use to prevent water spots and mineral deposits
- Use a water softener if you have hard water, as it reduces the mineral content in the water
- Regularly clean and inspect the shower head for any signs of buildup or blockages
Conclusion
Having a clean and shiny shower head can significantly enhance your showering experience. By following these easy cleaning tips and tricks, you can restore your shower head’s efficiency and overall appearance. Remember to gather your supplies, soak and scrub the shower head, and regularly maintain it to prevent future grime buildup. Enjoy your revitalized showers!